
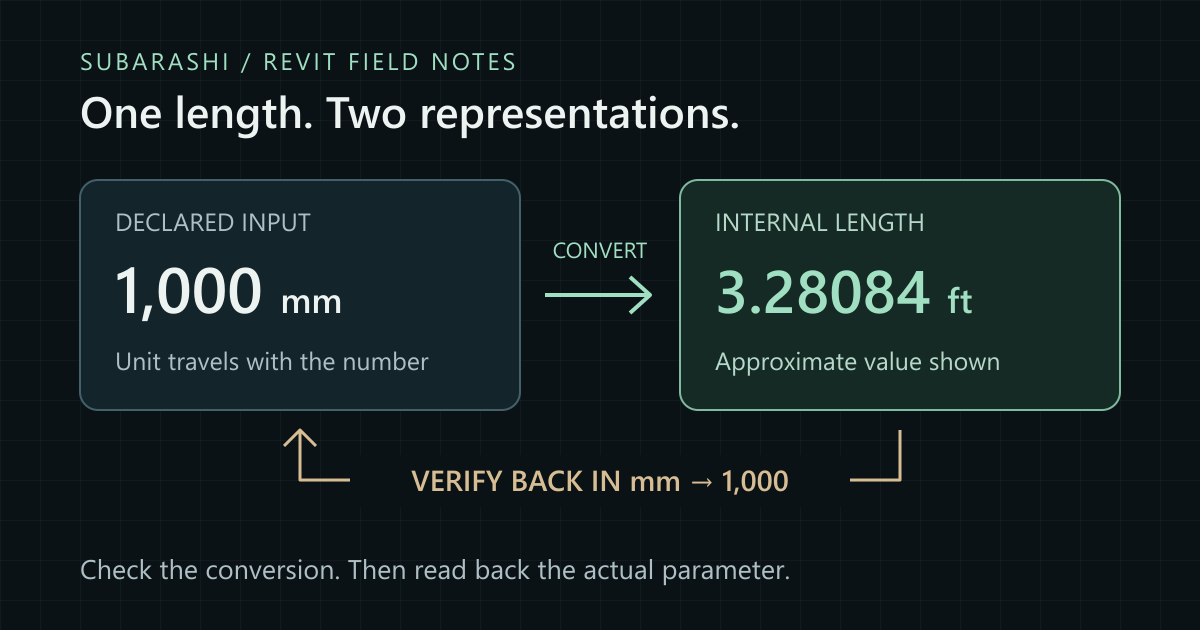
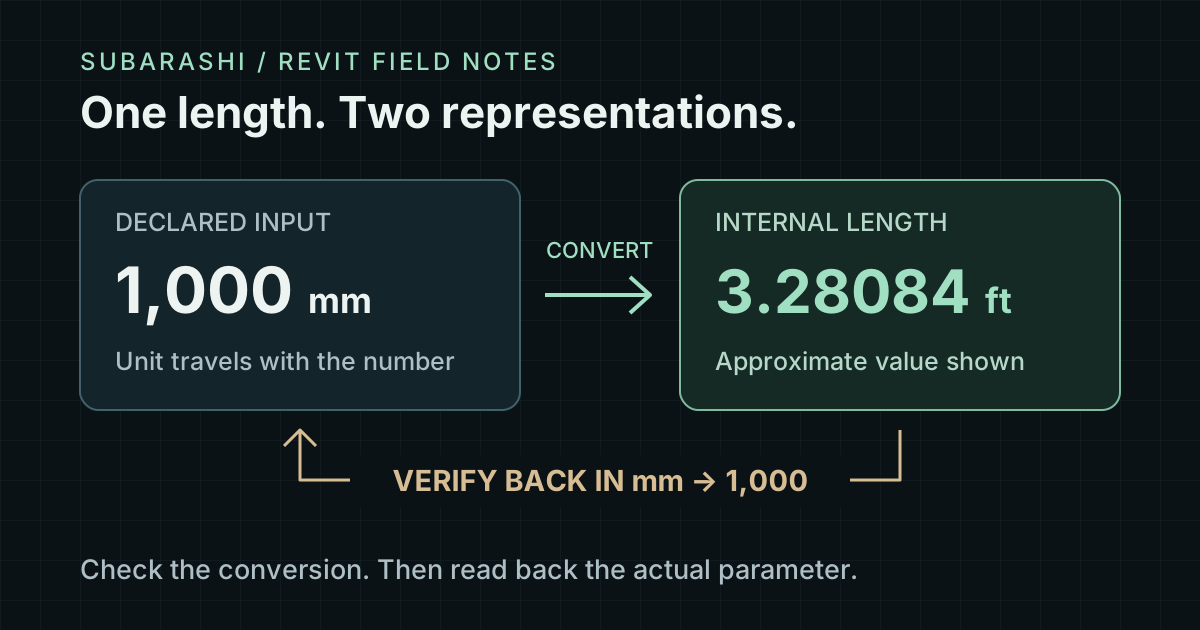
A spreadsheet contains 1000. The column means millimetres. A Revit add-in passes that number directly to a length parameter. If the assignment is accepted, the intended one-metre value becomes 304.8 metres.
The arithmetic can be perfectly valid while the model change is wrong. The missing information is the unit attached to the number.
For BIM automation, make that information explicit at the input, at the API boundary, and in the result report. This guide proposes a small verification workflow for length parameters. Its C# example has been checked against Autodesk’s Revit 2026 API documentation but has not been compiled or run inside Revit.
Separate the quantity, the unit, and the display
Revit uses feet internally for length. A project’s millimetre display does not turn its internal length values into millimetres. Document formatting controls things such as displayed units, rounding, and decimal symbols. Autodesk documents these as separate concerns in its Revit API units guide.
Keep three questions separate in the import design:
| Question | Example answer | Where to record it |
|---|---|---|
| What quantity is this? | Length | Target parameter validation |
| What unit does the input use? | Millimetres | Import schema or explicit column heading |
| How should a person read the result? | Millimetres with useful precision | Preview and result report |
A column called Offset leaves too much implicit. Prefer a declared schema such as offset_mm, with a defined decimal convention. If a file mixes metres and millimetres, give each row an explicit unit and validate it. Reject ambiguous input instead of guessing from the size of the number.
This article covers length. Do not generalize a feet-to-millimetres factor to angles, areas, or other quantities.
Put conversion at one named boundary
Autodesk’s ConvertToInternalUnits accepts a numeric value and a unit identifier. For a value explicitly supplied in millimetres, use UnitTypeId.Millimeters. Keep the input variable distinct from the converted variable: proposedMm and proposedInternal are harder to confuse than two variables both called value.
For a 1,000 mm request, the arithmetic looks like this. The last column assumes the receiving length parameter accepts the assignment; this is a calculation, not a Revit test result.
| Path | Internal length passed onward, in feet | Result expressed in millimetres |
|---|---|---|
| Converted once | 3.280839895… | 1,000 |
| Conversion skipped | 1,000 | 304,800 |
| Already-converted value treated as mm again | 0.010763910… | 3.280839895… |
Use these numbers as a diagnostic fixture, not as constants to scatter through production code. Centralize the API conversion and document what every helper accepts and returns.
Confirm that the target really is a length
A numeric storage type alone does not establish the physical quantity. Check the parameter definition as well. Autodesk’s GetDataType documentation shows how to identify a length specification with SpecTypeId.Length; it also notes that some definitions return other kinds of identifiers or an empty identifier.
Resolve the intended parameter before conversion. Record its identity and whether it belongs to an instance or a type. A correct conversion applied to the wrong parameter is still a failed import. The existing guide on shared parameters as an interface covers why parameter identity belongs in the workflow.
Here is a deliberately narrow read-only preview helper for an already-resolved Autodesk.Revit.DB.Parameter. Place it inside a class in a Revit add-in project. It does not locate elements, parse a CSV, start a transaction, or write a value.
using System;
using Autodesk.Revit.DB;

static string PreviewLength(Parameter parameter, double proposedMm)
{
    if (parameter == null || !parameter.HasValue)
        return "Skip: missing parameter or current value.";

    if (parameter.StorageType != StorageType.Double ||
        parameter.Definition.GetDataType() != SpecTypeId.Length)
        return "Skip: target is not a supported length parameter.";

    if (double.IsNaN(proposedMm) || double.IsInfinity(proposedMm))
        return "Skip: input must be a finite millimetre value.";

    double currentMm = UnitUtils.ConvertFromInternalUnits(
        parameter.AsDouble(), UnitTypeId.Millimeters);
    double proposedInternal = UnitUtils.ConvertToInternalUnits(
        proposedMm, UnitTypeId.Millimeters);
    double roundTripMm = UnitUtils.ConvertFromInternalUnits(
        proposedInternal, UnitTypeId.Millimeters);

    return string.Join(Environment.NewLine,
        FormattableString.Invariant($"Current={currentMm:G17} mm"),
        FormattableString.Invariant($"Input={proposedMm:G17} mm"),
        FormattableString.Invariant($"Internal={proposedInternal:G17} ft"),
        FormattableString.Invariant($"RoundTrip={roundTripMm:G17} mm"),
        $"ReadOnly={parameter.IsReadOnly}");
}
The relevant API contracts are Autodesk’s Parameter reference and UnitUtils reference. This helper intentionally skips unset parameters and supports only the ordinary length specification. It is a review aid, not a general parameter importer.
Verify the conversion, then the actual change
The first check happens before a write: convert the proposed internal value back to the declared input unit and compare it with the original input, using a documented tolerance.
A round trip catches mistakes in the conversion path. It cannot prove the source unit was declared correctly. If a metre value is incorrectly labelled as millimetres, a consistent round trip can still pass. Include at least one independently known dimension in the test model.
The second check happens after the write transaction completes successfully: read the actual target parameter again, convert that value to the reporting unit, and compare it with the requested value. Do not build the success report from the input row or the proposed value alone.
Keep these outcomes separate:
- Previewed: target identified and conversion inspected; no change made.
- Skipped: missing value, unsupported quantity, read-only target, or another explicit exclusion.
- Failed: assignment or transaction failed, or read-back differs beyond tolerance.
- Verified: the completed change and the observed parameter value satisfy the acceptance rule.
For a length-import test, a tolerance of 0.01 mm could be a chosen acceptance rule. It is an example, not a universal Revit precision guarantee. Choose a tolerance appropriate to the parameter and task, and distinguish numerical round-trip tolerance from the model’s practical acceptance tolerance.
Test cases that expose the mistake
Run the workflow on a disposable model before a batch update. Start with a small set whose expected values are known independently:
| Case | What it tests |
|---|---|
| 1,000 mm with a known one-metre reference | Missing conversion or a false source-unit declaration |
| 25.4 mm | A recognizable one-inch reference |
| 0.5 mm | Accidental integer parsing or early rounding |
| Zero, where the target permits it | A valid zero being mistaken for missing data |
| A signed offset, where supported | Sign preservation and task-specific limits |
| A non-length numeric parameter | Quantity validation before conversion |
| The same model shown in different project units | Display settings leaking into the import contract |
Preserve the raw input, declared unit, target identity, current value, proposed value, and observed result in the report. Autodesk’s AsValueString supplies a human-readable value with units. Include that as context if helpful; use the numeric value with an explicit unit for your comparison rather than parsing a display string back into a number.
The broader reporting pattern is described in Revit cleanup scripts should write reports first. For unit-sensitive changes, add the conversion boundary and the post-write observation to that report. A reviewer should be able to trace one row all the way from “1,000 mm requested” to “1,000 mm observed” before approving a larger run.